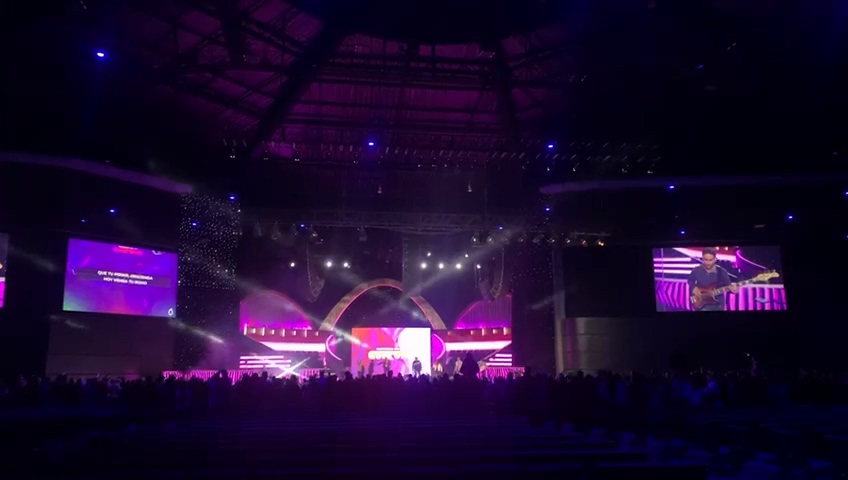
Led displays are widely used, whether it is stage performances, shopping malls, theaters, exhibitions, outdoor advertising, or even stadiums and churches. There are many types of LED displays, the most common ones are rental LED displays, indoor fixed LED display, outdoor fixed LED display, and high-end ultra fine pitch Cob led screen. Among them, rental displays are undoubtedly the best choice for easy installation and quick disassembly.
First, we should consider whether the display will be used indoors or outdoors. LED screens in different environments have different requirements for waterproofing, dustproofing, and heat dissipation, and their brightness also varies significantly. Secondly, the most common installation methods for rental products are floor-standing and hanging. So, how do you install a floor standing rental LED display?
Step 1: Prepare tools, install and adjust the footing
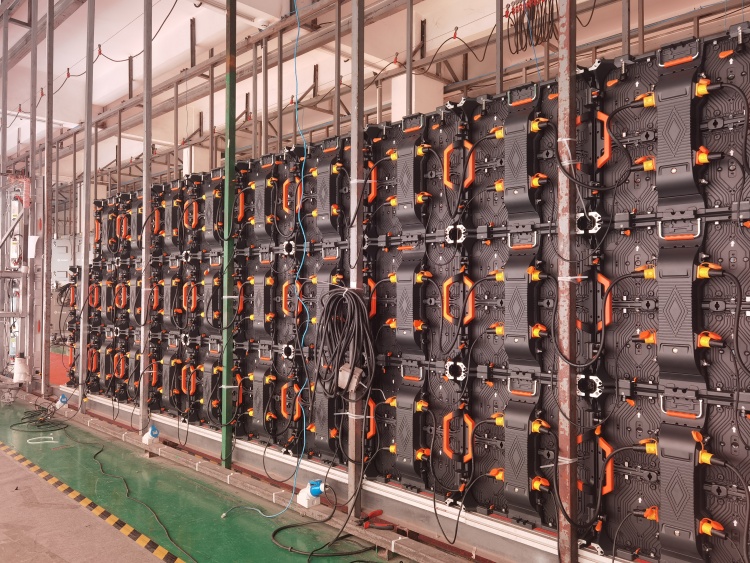
First, prepare the equipment and tools needed, including the display module, power cord, network cable, receiving card, screws, clips, base frame, etc. Secondly, ensure the floor is flat and free of debris, making sure it is stable and reliable and can support the weight of the screen. Attach the base according to the size of the cabinet (taking a 500*1000mm cabinet as an example), connect the support beams using the quick-lock system, and use screws and nuts to connect the brackets up and down. Secure the bottom, ensuring the support beams are level.
Step 2: Connect the LED panel
First, the LED rental screen cabinet is modular in design and needs to be assembled from bottom to top and from left to right. Place one LED panel on the support beam and connect it with the quick lock. Place the second panel on top and connect it with the adjacent panel with the quick lock. Then connect it to the bracket to fix the panel. Connect all the LED panels together in the above method.
Step 3: Connect the power cord
Connect each main power cable from the power port to the power port on each cabinet. Connect no more than 8pcs 500*1000mm LED panels (signal phase, (200-240V)). If the signal phase is 100-120V, connect no more than 6 panels, and connect all short power cables to each panel. Also, be sure to check that the positive and negative poles of the power cables are connected incorrectly to prevent short circuits. If used outdoors, waterproof the interfaces.
Step 4: Connect the network cable
Connect each main network cable to 20pcs 500*1000mm panels. If pixel P3.91 then connect all short network cables to each panel.
Step 5: Connect the main power cord to the power source
Please confirm whether it is 110V or 220V, then connect the main network cable, connect the main network cable to the video processor, that is, connect it to the USB and HDMI ports, connect the HDMI cable and USB cable to the laptop, and note that a windows laptop or computer is required here.
Step 6: Connect the screen on NovaLCT
Log in to NovaLCT and enter the password. We are currently using a 6×2 LED panel with a size of 500*1000mm,3mx2m led screen. Then fill in the height and width resolution, the direction of the connection line, and click Send to HW in the lower right corner. After success, click “Save” and you will see the final display result.
In short, it is not difficult to install the LED display. The above steps can efficiently complete the installation of the floor-standing rental LED display. A 500*500mm cabinet weighs only 7kg, and a 500*1000mm cabinet weighs only 13kg. A single person can quickly install it successfully.